
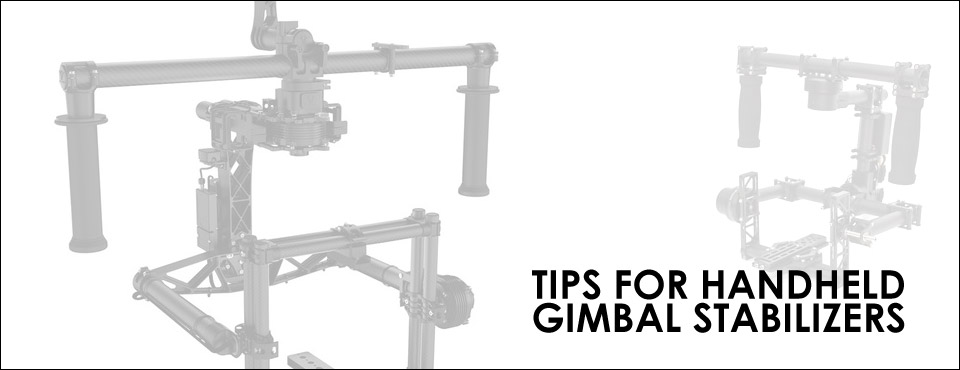
Gimbal stabilizers have been around for a long time; their adaptation to the handheld cinema application made a big splash and is primarily attributed to the Freefly Movi. Since then, many companies have stepped up and released their own gimbal stabilizer. DJI Ronin is one of the biggest competitors for the Freefly Movi – but there really are tons of options out there. If you’re buying a stabilizer or just renting one – here are some tips regardless of which brand you’re using.
1. Test your rig thoroughly before your shoot date – This should hold true for any new gear you use – but I feel it’s worth stating the obvious for this blog entry. You really need to get to know the rig you’re working with – even if it’s for an hour or so. Balance the rig. Try a few different lenses and figure out that effects balance. Find the quirks that your rig might have. Figure out what doesn’t work well. Definitely find out what does work well.
2. Find your ergonomic positioning –Whether you’re using a small DSLR or a big rig camera like a RED or Alexa, any handheld rig can get really heavy way too fast if held in an awkward and non-ergonomic position. Depending on how many gimbal shots you’re trying to get during your shoot, bad positioning can really take its toll on you – and the stabilizer won’t help if you can’t hold it in the position you need it.
I had filmed a music video where I was asked to fly a big rig set up gimbal at a really weird height above my head – but not quite at a height where I could lock my elbows. The first take had the most endurance and clocked in about a minute. Each subsequent take lasted a little less each time. After a number of takes, 30 seconds was a real strain. Had the rig been in a different position, any of the takes would have been no problem at all.
3. Don’t touch the camera when you’re flying the rig – In my experience, this doesn’t work. The way that most gimbal stabilizers function is that they’re constantly using their motors to adjust the cameras position based on where it’s supposed to be. Giving a solid push on a button or adjusting the lens focus while stabilizer is working might knock the camera off balance to the point that the motors can’t reset it where it needs to be and you need to put the whole rig down and reset. I’ve seen this more often than I’d like to and it’s usually frustrating on set because it ends up costing time.
4. Have an AC and wireless follow focus – If you are working with a fast lenses and/or long lenses and will have a very shallow depth of field, I’d highly suggest having a 1st AC pulling focus for you with a wireless focus system. Due to rigging and powering the wireless FF, this might actually be easier said than done with the bigger rigs that would have built in D-tap power to pull from on the camera. Either way, even if you were filming with a really fast 50mm lens wide open with a subject walking at camera at close proximity – if you’re not pulling focus, the speed of your op and the speed of your talent had better be almost perfectly matched if you want to keep the subject in focus consistently. If the shallow depth of field isn’t mandatory for the look you want for the shot, stopping down the lens can help keep things in focus (with or without an AC doing a focus pull).
5. Embrace the wide shots – Similar to #3, it’s good to note how you can make your life easy with a stabilizer. One of those ways is by shooting wide and stopping down the lens. Increase your depth of field to take in as much of the environment (in focus) as you can. Move the camera how you need to and get some great shots. If your AC is pulling focus, his/her job will be made a lot easier in that situation – and if you don’t have an AC pulling for you, you still have a fighting chance of things looking good and in focus. Obviously, don’t let this dictate your shots – but keep it in your arsenal for when it’s needed.
6. Have a white pencil or silver sharpie – If you have one specific camera and lens configuration that you use most frequently, marking the balance positioning with a white pencil or silver sharpie can help you with speedy set-ups or resets. One of my gimbals needs to be dismantled and adjusted in a certain way to fit into its pelican case – so having marks for where to adjust the camera for set up definitely saves a lot of time for the set up process.
I hope these tips are helpful. Happy shooting!